Slideshow on Google Images
I opened Google Images and searched for Batman, which is probably my favourite Super Hero. I had connected my laptop to a TV screen and I wanted to see all the images as a slideshow. And, just like many other posts in this blog, I started using the Chrome Developer Tools.
I clicked on the first image. The image was being displayed on the side and a button to move to the next image came in. I right-clicked on the button and did an Inspect and I found that the button was having classes KJaJCe irc-rab. I ran the following command to see if there are other elements with the same class.
document.getElementsByClassName('KJaJCe irc-rab')

I saw that there were three elements, but the button to go to the next image was always having an index of 1. So, I went ahead and did the following:
a = document.getElementsByClassName('KJaJCe irc-rab')[1];
a.click();
Each time I ran a.click it showed me the next pic on the right-hand side and I was convinced that if I keep this in a setInterval loop, I could have the slideshow running.
setInterval(function(){I was satisfied for a while that this worked, but I felt that I need the images to fill in the entire screen. The idea is to change the image width and height into 100%. I had a little trouble to get this done, but I was successful at the end.
a = document.getElementsByClassName('KJaJCe irc-rab')[1];
a.click();
}, 2000);
As I simply tried to edit the style using both the console and JavaScript commands, I found that it would be hard to simply try to expand the image. Therefore, I decided to create a lightbox and append it to the body, then clone the new coming images into the lightbox. The following is the code to do that.
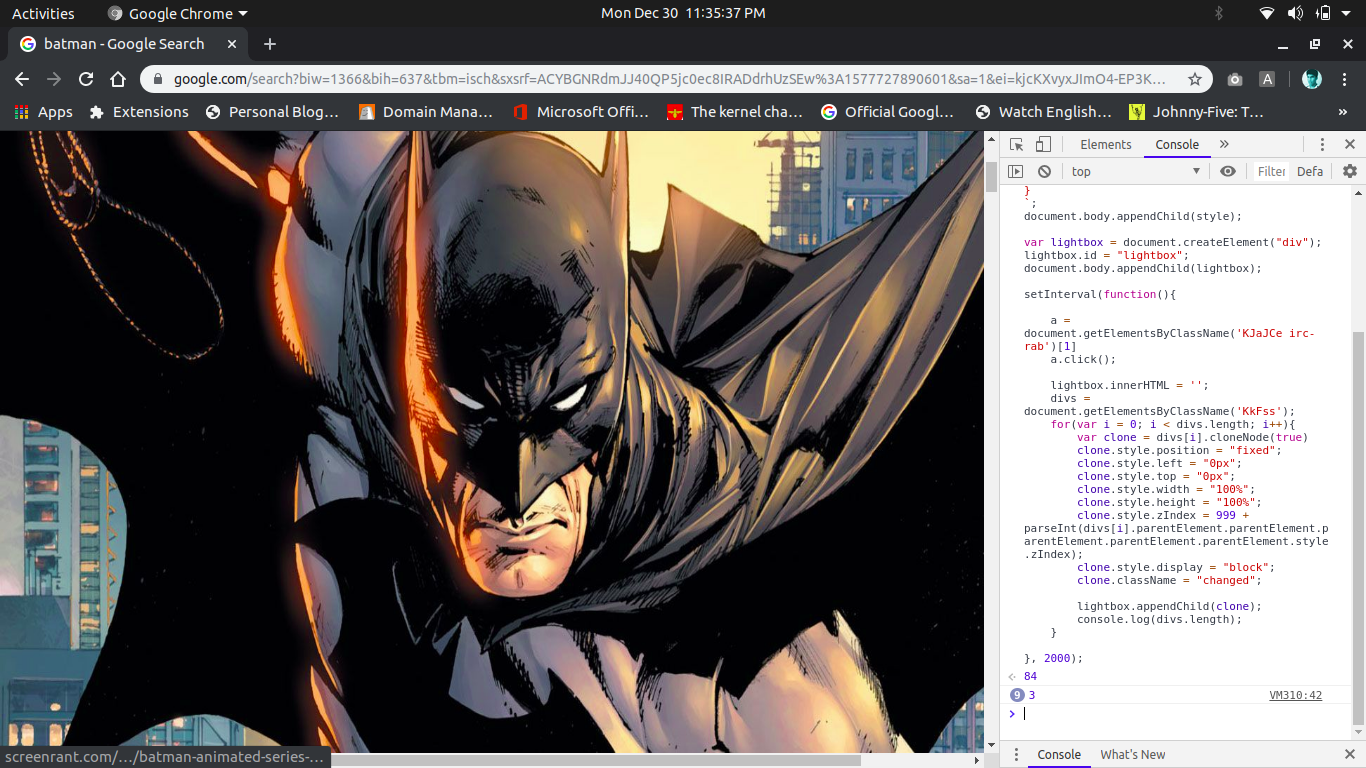
style = document.createElement('style');You can copy paste the code above in your Chrome Developer Tools Console and see the effects as shown in the image below.
style.innerHTML = `
#lightbox{
background: #000000;
position: fixed;
left: 0;
top: 0;
width: 100%;
height: 100%;
z-Index: 999;
}
#lightbox img{
width: 100%;
height: 100%;
}
`;
document.body.appendChild(style);
var lightbox = document.createElement("div");
lightbox.id = "lightbox";
document.body.appendChild(lightbox);
setInterval(function(){
a = document.getElementsByClassName('KJaJCe irc-rab')[1]
a.click();
lightbox.innerHTML = '';
divs = document.getElementsByClassName('KkFss');
for(var i = 0; i < divs.length; i++){
var clone = divs[i].cloneNode(true)
clone.style.position = "fixed";
clone.style.left = "0px";
clone.style.top = "0px";
clone.style.width = "100%";
clone.style.height = "100%";
clone.style.zIndex = 999 + parseInt(divs[i].parentElement.parentElement.parentElement.parentElement.parentElement.style.zIndex);
clone.style.display = "block";
clone.className = "changed";
lightbox.appendChild(clone);
console.log(divs.length);
}
}, 2000);
Now that you have the code to create Google Image Slideshow, you could go ahead and create your own extension out of it so that you don't have to copy-paste the code each time you wish to activate the slideshow. If you don't already know that, you could go ahead and read my blog post titled How to Create your own Ad Blocker Chrome Extension.


Comments
Post a Comment